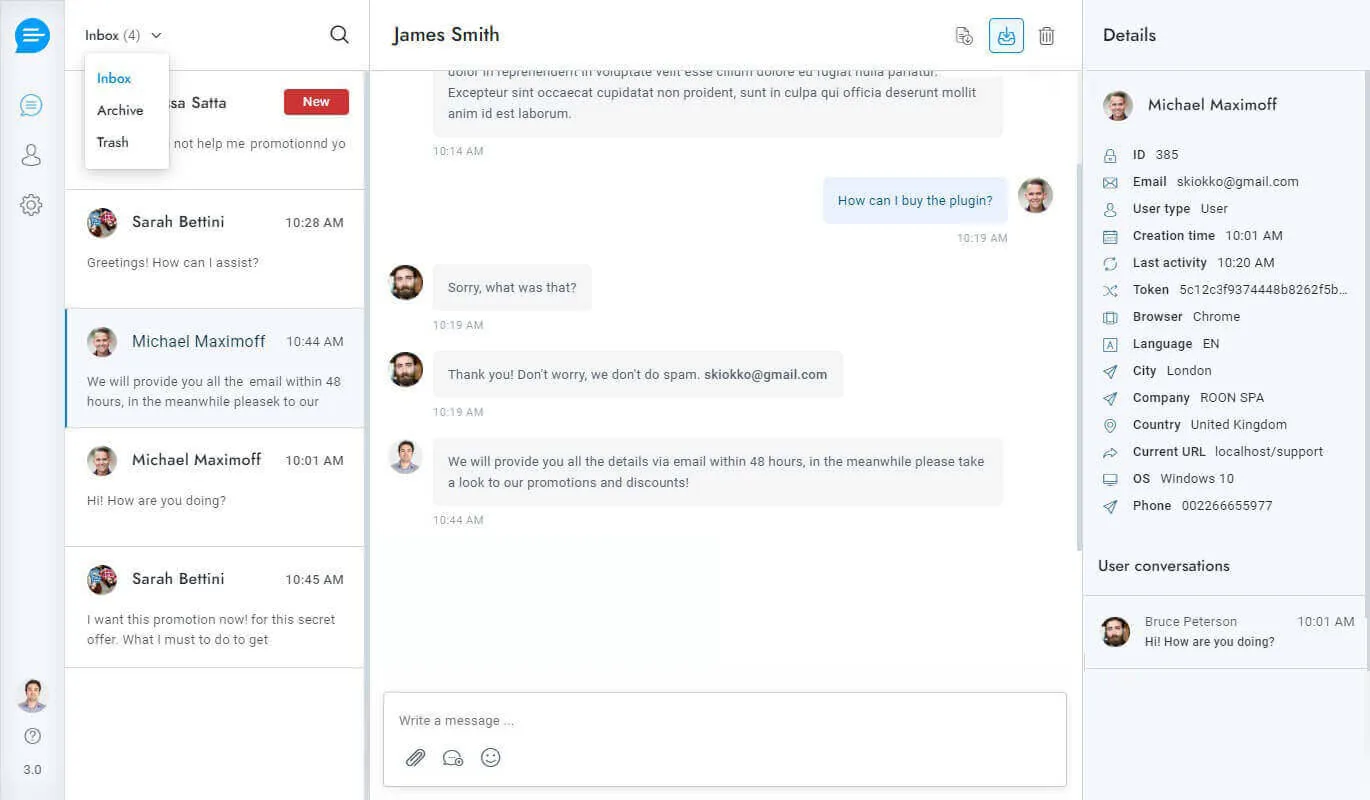
Adding a live chat widget to your website is one of the best ways to engage with visitors in real-time. Chat Board makes this process incredibly simple.

Getting Started #

First, log in to your Chat Board dashboard and navigate to the installation section.

Step 1: Get Your Widget Code #

  1. Go to Settings > Installation
  2. Copy the provided JavaScript code snippet
  3. The code will look something like this:

Step 2: Add to Your Website #

Paste the code snippet just before the closing tag in your website's HTML. If you're using a CMS like WordPress, you can:

  • Use a plugin like "Insert Headers and Footers"
  • Add it to your theme's footer.php file
  • Use your theme's built-in code injection feature

Customization Options #

Once installed, you can customize your widget:

  • Colors & Branding: Match your brand colors
  • Position: Choose bottom-right, bottom-left, or custom
  • Welcome Message: Set a friendly greeting
  • Avatar: Upload your team's photos

Advanced Features #

Automated Responses #

Set up automated responses for common questions to provide instant answers even when your team is offline.

Visitor Tracking #

See who's on your website in real-time and proactively reach out to visitors who might need help.

Integration with Other Tools #

Connect Chat Board with your CRM, email marketing, and other business tools for a seamless workflow.

Testing Your Installation #

After adding the widget:

  1. Visit your website in a private/incognito window
  2. You should see the chat icon appear
  3. Click it to test the chat functionality
  4. Send a test message to ensure everything works

Next Steps #

Now that your chat widget is installed, explore these features:


Need help with installation? Our support team is available 24/7 via the chat widget on this page!